How to apply a chroma key using ImageMagick
Yesterday, I wrote a short post on the fediverse with an overview of how to take a screenshot of an app with a context menu showing in elementary OS, while keeping its alpha channel and drop shadow using Krita.
Today, I decided that since I want localised screenshots for Comet in the elementary OS AppCenter, I have to automate the screenshotting process (as I have 5 screenshots per language and, even with the three languages Comet will launch with – English, Turkish, and Dutch – that still means 15 screenshots).
Automating regular screenshots is easy.1 What’s harder is to automate the screenshot with the context menu I mentioned earlier as that requires the use of a chroma key.
To automate that, we need to use trusty old ImageMagick.
A little image magic
If you don’t already have it, you can easily install it in elementary OS using apt:
sudo apt install imagemagick
However, this will give you the legacy version of ImageMagick (version 6.x).
The easiest way to install the latest version (7.x), is to use the ImageMagick 7 AppImage.
The following one-line ImageMagick 7 AppImage installation script will do that for you while automatically verifying the message digest on any Linux distribution and on any shell:
bash -lic "wget -O /tmp/magick https://download.imagemagick.org/ImageMagick/download/binaries/magick && chmod +x /tmp/magick && test \$(wget -qO- https://download.imagemagick.org/ImageMagick/download/binaries/digest.rdf | grep 'rdf:about=\"magick\".*' -A6 | sed -rn 's/.*<digest:sha256>(.*?)<\/digest:sha256>/\1/p') = \$(sha256sum /tmp/magick | sed -r 's/(.*)\s(.*)/\1/') && (sudo mv /tmp/magick /usr/local/bin/ && echo 'ImageMagick 7 successfully installed.') || (rm /tmp/magick && echo 'Installation failed. Security error: message digest verification failed for ImageMagick 7 AppImage binary.')"
The commands in this post use ImageMagick 7 syntax but you can easily convert them to legacy ImageMagick 6 simply by removing the magick command at the start. They will then function identically, using the older convert command that’s part of ImageMagick 6.
Would it be alright by you if I degreenify you?
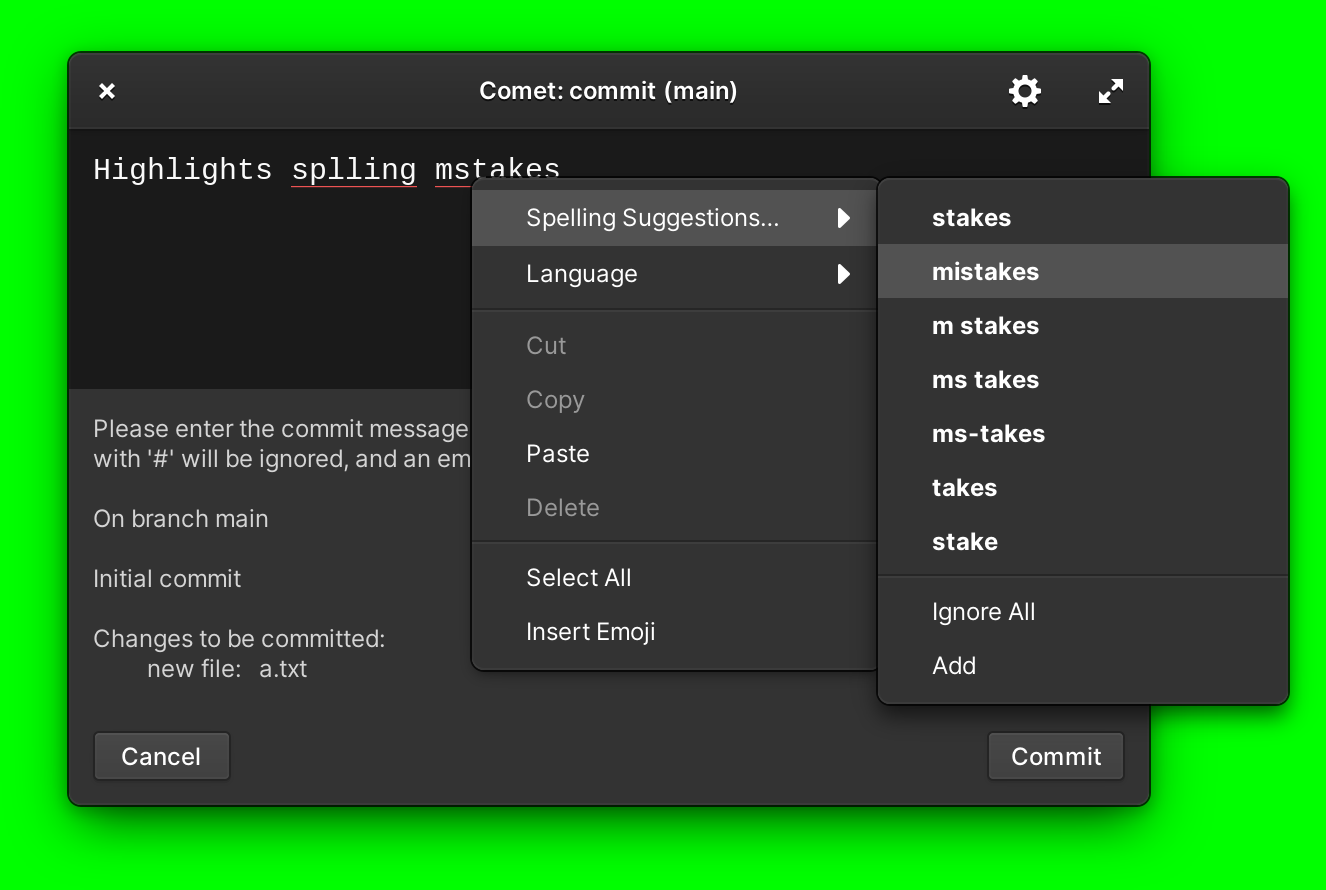
For the purposes of this post, let’s assume we already have the following screenshot of the app in a file called original.png and we want to apply a chroma key to remove the green background while keeping the lovely soft drop shadow.

Unlike a green screen in live action video, our background is a single, uniform colour: pure green (#00ff00). This will simplify things a lot.
First off, there’s quite a bit of solid green around the area we want to remove, even before we get to the semi-transparent drop shadow that we want to preserve and, of course, to the body of the window itself. So let’s start by trimming off the excess green:
magick convert original.png -trim +repage trimmed.png
This gives us a smaller canvas to work with, which should speed up future processing also.

Next, we run a command to remove the background while keeping the transparency:
magick convert trimmed.png -channel alpha -fx "1.0*b - 1.0*g + 1.0" image-with-alpha-and-colour-spill.png
We now have a new image with alpha transparency but the semi-transparent areas have a green tint to them. This is known as colour spill.

To remove the colour spill while maintaining the transparency, we have to do two things.
First, we extract the alpha channel from this new image:
magick convert image-with-alpha-and-colour-spill.png -alpha extract alpha-mask.png
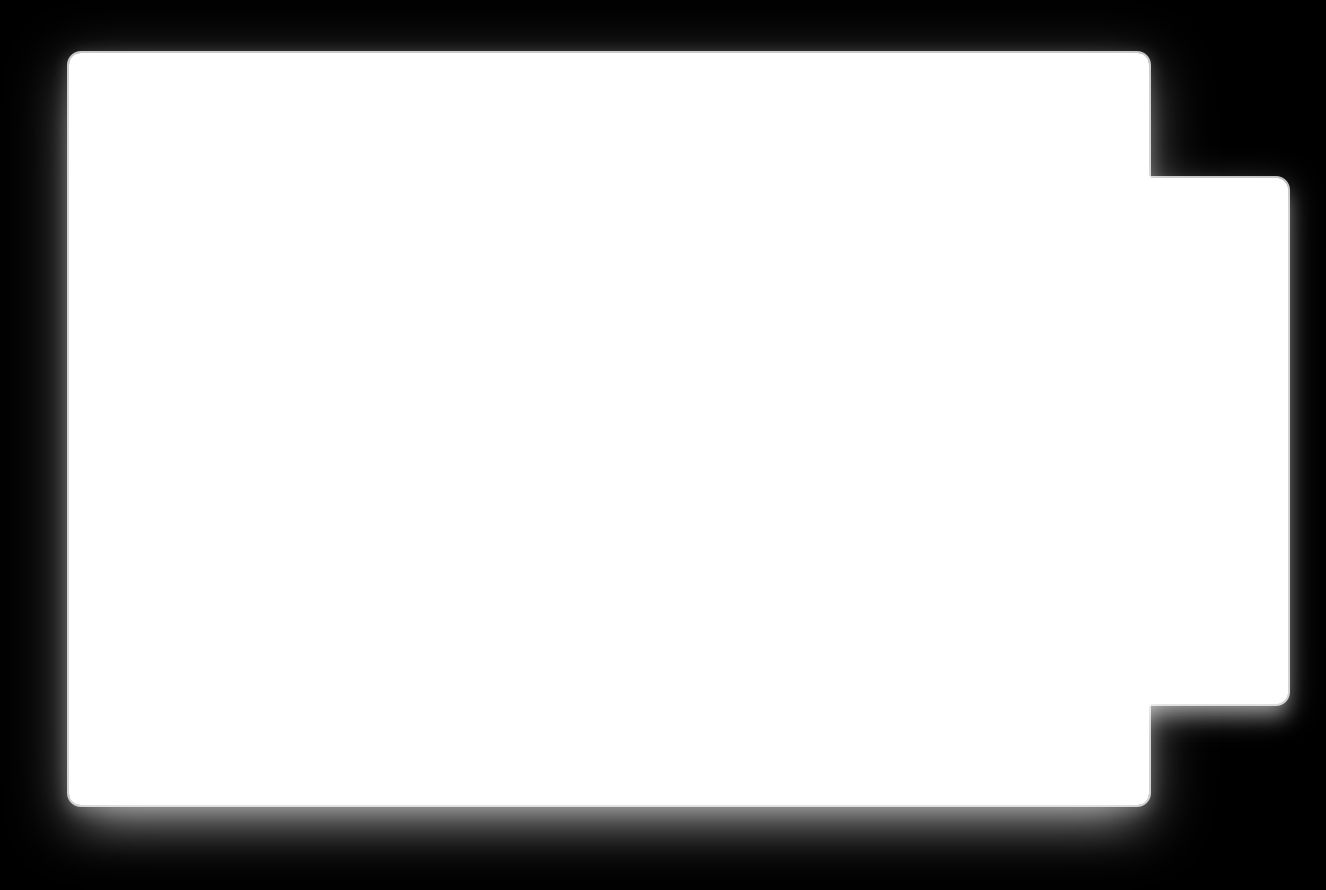
That gives us the following alpha mask:

Now that we have a clean alpha mask and, given we know the background colour, we can use a clever little calculation2 to remove the tint3:
magick convert original.png alpha-mask.png -alpha Off -fx "v==0 ? 0 : u/v - #00ff00/v + #00ff00" alpha-mask.png -compose Copy_Opacity -composite final.png
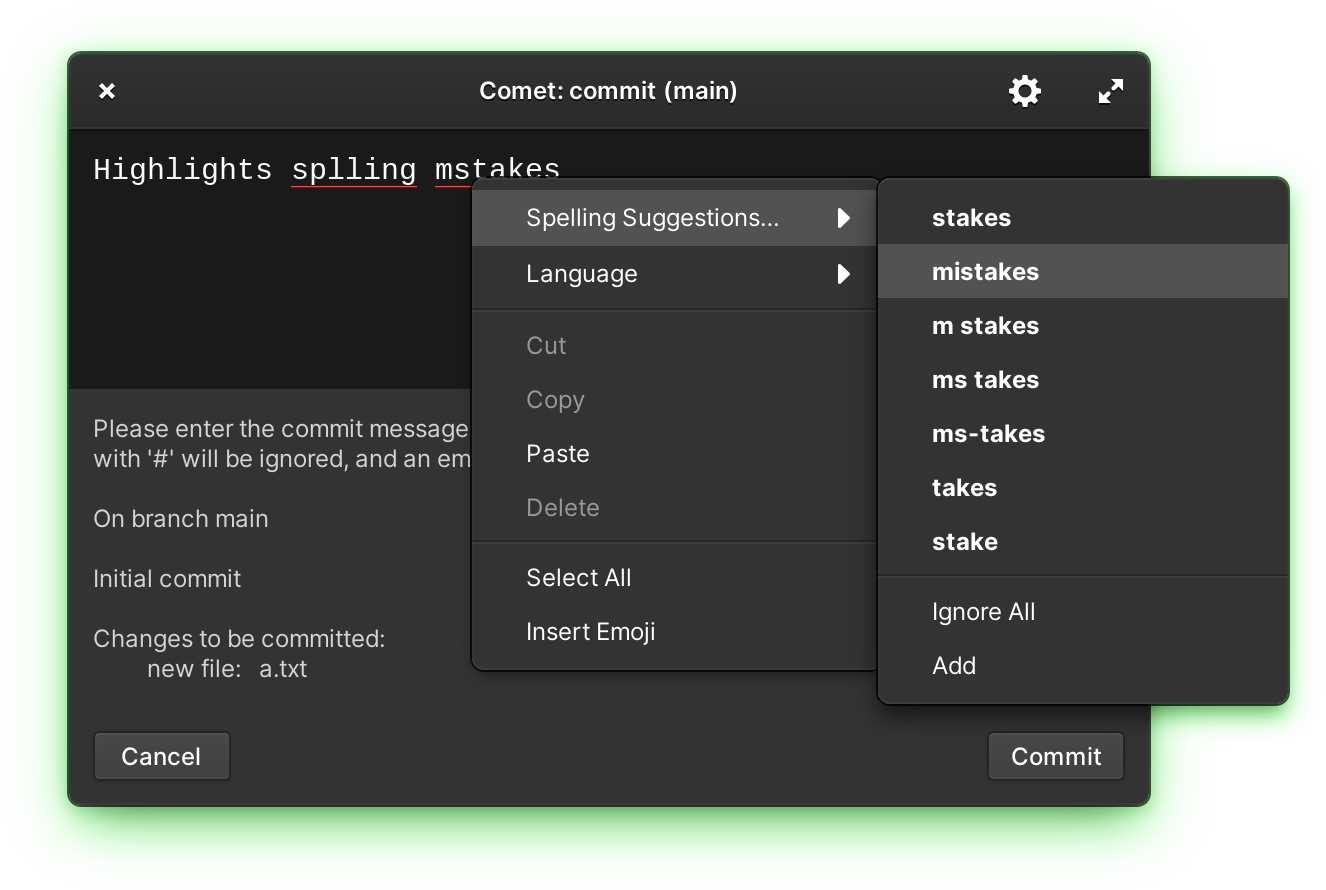
And that gives us our final image, with a beautiful alpha-channel drop-shadow without any colour spill.

I hope this helps you should you find yourself needing to do something similar.
Like this? Fund us!
Small Technology Foundation is a tiny, independent not-for-profit.
We exist in part thanks to patronage by people like you. If you share our vision and want to support our work, please become a patron or donate to us today and help us continue to exist.
-
I just launch Comet and the elementary OS Screenshot app from the command-line and ask the latter to take a screenshot of the active window with a one-second delay. Then, I use xdotool to ensure that Comet is active and has focus before it is captured and close the window after a longer delay.
It looks something like this:
↩︎#!/usr/bin/env bash function screenshot_and_close_comet { flatpak run io.elementary.screenshot --window --delay=1 & xdotool search --onlyvisible --class comet windowactivate windowfocus sleep 2 xdotool search --onlyvisible --class comet windowclose } # Ensure we have a current build. task/build # Welcome Screen # English build/org.small_tech.comet & screenshot_and_close_comet # Turkish LANGUAGE=tr_TR.utf8 build/org.small_tech.comet & screenshot_and_close_comet # Dutch LANGUAGE=nl_NL.utf8 build/org.small_tech.comet & screenshot_and_close_comet # And so on… -
I didn’t have to go into the math this time around but I remember diving pretty deep into alpha blending/compositing about a decade ago while working on one of my iPhone apps.
If you want to understand the equation, start by reading up on the FX Special Effects Image Operator. The equation is used for each pixel in the images;
uis the colour value from the first image andvis the colour value from the second image. What the equation is doing is calculating how much green is present in each pixel and removing it. ↩︎ -
Since I know that background colour is pure green, I hardcoded its hexadecimal value in the example to simplify the equation.
If you don’t know the colour off-hand, you can grab it from the image itself – e.g., from its top-left corner – by substituting
u.p{0,0}in place of the hexadecimal colour value in the equation. ↩︎