Make Helix Editor follow the system colour scheme

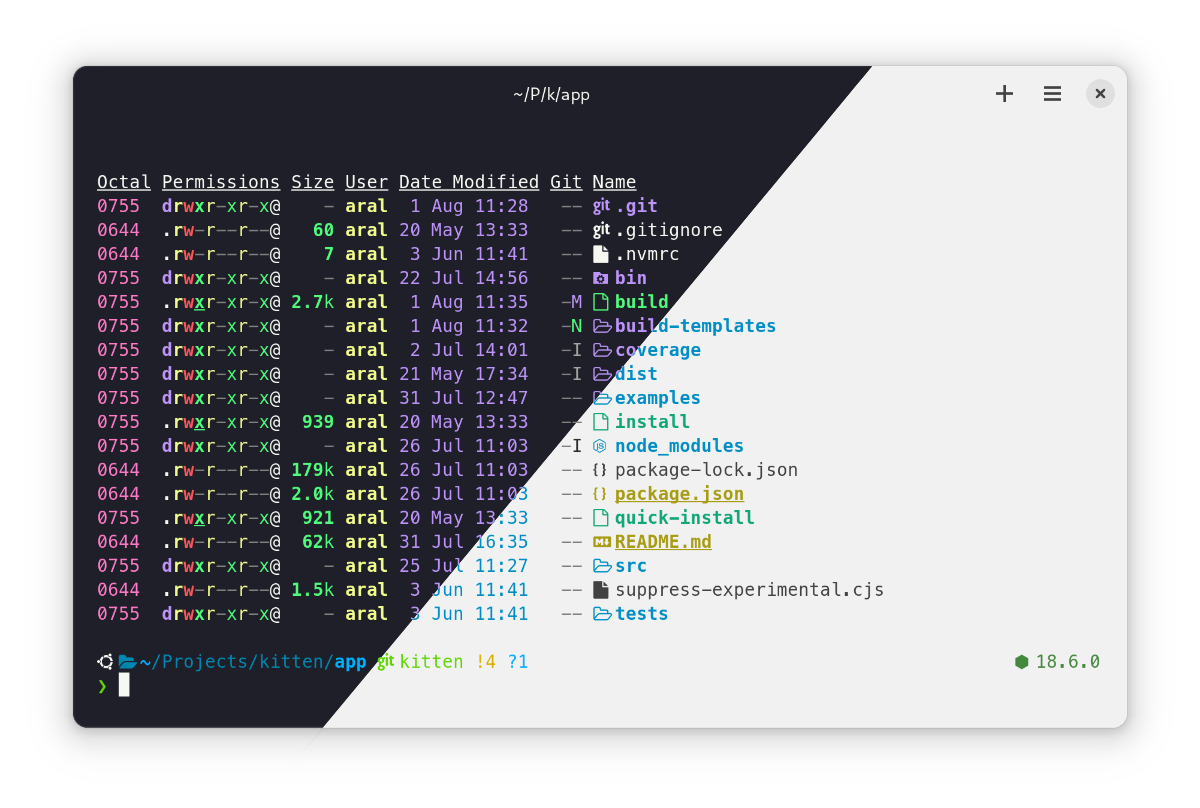
Black Box adheres to the system colour scheme in GNOME.
This is a niche post for those of you using a Terminal application that adheres to system light/dark mode settings1 (like the excellent Black Box by Paulo Queiroz) and Helix Editor.
The problem is that Helix editor currently does not support separate light and dark themes or switching between them automatically when your system does. This is, however, something we can fix with a little bit of scripting.
Prerequisites
Make sure your Helix configuration is at ~/.config/helix/config.toml (or change the paths in the scripts accordingly) and that you have a line in it that sets the theme:
theme = "something"
(What it’s set to is not important as long the line is there so it can be changed by the update script we’re going to write next.)
The scripts
First, create a folder to hold the scripts:
mkdir -p ~/.config/helix/scripts/synchronise-with-system-colour-scheme
Then create the following scripts and ensure they’re executable (chmod +x <name-of-file>):
monitor.sh
#!/usr/bin/env bash

gsettings monitor org.gnome.desktop.interface color-scheme \
  | xargs -L1 bash -c "source ${HOME}/.config/helix/scripts/synchronise-with-system-colour-scheme/update.sh"
update.sh
#!/usr/bin/env bash

# Fail early, fail often.
set -eu -o pipefail

if [[ "$1" == "default" ]]; then
  # Update Helix Editor config to use light theme.
  sed -i 's/theme = ".*"/theme = "onelight"/' ${HOME}/.config/helix/config.toml
else
  # Update Helix Editor config to use dark theme.
  sed -i 's/theme = ".*"/theme = "dracula"/' ${HOME}/.config/helix/config.toml
fi
Edit the script to change the light and dark themes to the ones you want. You can see the ones available on your system using the :theme command in Helix.
You need to keep the monitor script running in the background for this to work. You can do this by simply running ./monitor.sh &, or (recommended), you can run it as a systemd user service.
Before creating the systemd service, create two more helper scripts to enable and disable it:
enable.sh
#!/usr/bin/env bash

# Enables the service to start on boot and also starts it up immediately.
systemctl --user enable helix-system-colour-scheme-synchronisation.service
systemctl --user start helix-system-colour-scheme-synchronisation.service
disable.sh
#!/usr/bin/env bash

# Stop the service immediately and disables it from starting on boot.
systemctl --user stop helix-system-colour-scheme-synchronisation.service
systemctl --user disable helix-system-colour-scheme-synchronisation.service
And, finally, create the systemd user service (in _~/.config/systemd/user and make sure it is executable.)
helix-system-colour-scheme-synchronisation.service
[Unit]
Description=Helix System Colour Scheme Synchronisation Service
Documentation=https://github.com/helix-editor/helix/issues/2158
After=gnome-session.target

[Service]
Type=simple
RestartSec=5
Restart=always
ExecStart=%h/.config/helix/scripts/synchronise-with-system-colour-scheme/monitor.sh

[Install]
WantedBy=gnome-session.target
That’s it.
Run: ./enable in your scripts folder to enable the service and ./disable to disable it.
Helix currently doesn’t automatically reload its configuration when it changes so you’ll have to restart existing instances manually.
I look forward to the day when we can see a smooth fade from a light theme to a dark theme and back when the system theme changes. 🤓👍
Until then, I hope you find this useful.
-
If you’re using GNOME Console or GNOME Terminal, this post won’t help you as those apps do not adhere to the system colour scheme. ↩︎