Snowpack Hot Module Replacement (HMR) from scratch with vanilla JavaScript
If you watched Rich Harris’s SvelteKit preview, you were probably swooning over the state-maintaining source updates he demoes in his talk. These are thanks to Snowpack’s support for hot module replacement via esm-hmr. In this short post, I want to explain the concept from scratch using Snowpack and vanilla JavaScript.
You can either type in the examples or, if you’re feeling lazy, clone the source code and follow along.
Set up the project
First, set up your project folder and initialise it as a Node project.
mkdir snowpack-hmr
cd snowpack-hmr
npm init -f
Next, install Snowpack.
npm i --save-dev snowpack
Finally, initialise Snowpack to create a default snowpack.config.js file in your project folder:
npx snowpack init
(We’re not going to customise the configuration in this example so we could have skipped this step but it’s good for you to know how to do it for when you need to in your own projects.)
Define the entry point
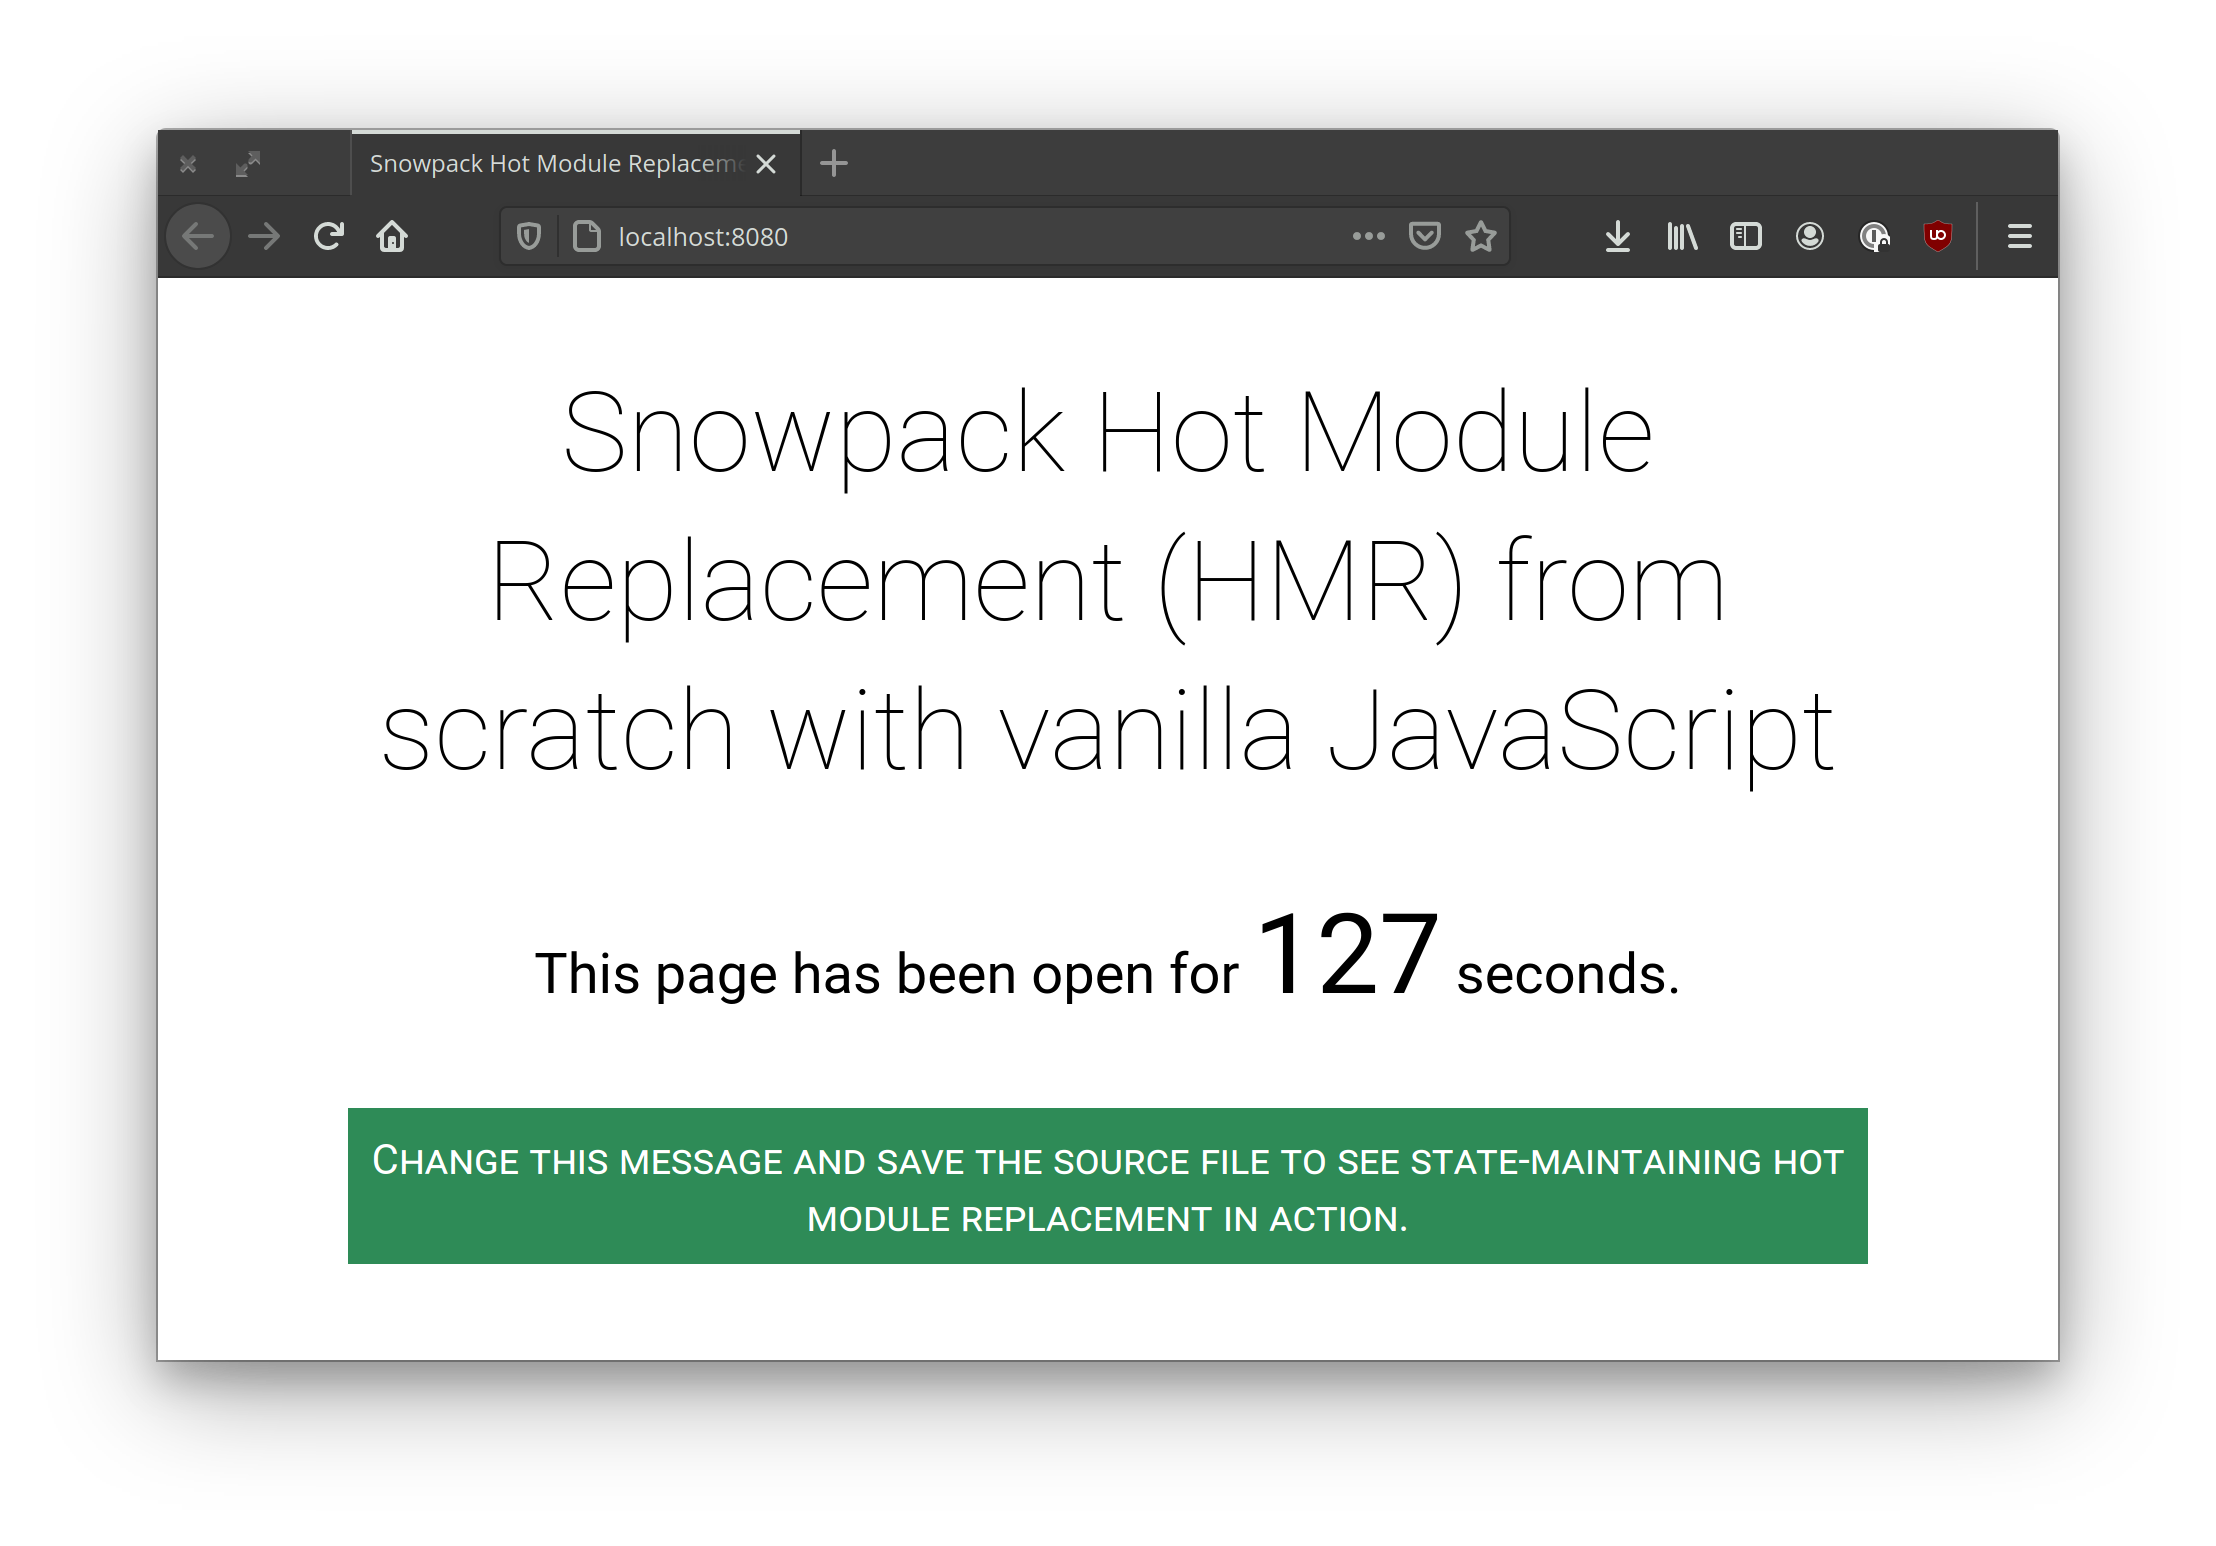
Create a basic HTML page in your project folder called index.html with the following content:
<!doctype html>
<html lang='en'>
<head>
  <meta charset='utf-8'>
  <meta name='viewport' content='width=device-width, initial-scale=1.0'>
  <title>Snowpack Hot Module Replacement (HMR) from scratch with vanilla JavaScript</title>
</head>
<body>
  <h1>Snowpack Hot Module Replacement (HMR) from scratch with vanilla JavaScript</h1>
  <p>This page has been open for <span id='timer'>0</span> seconds.</p>
  <p id='message'></p>
  <script type="module" src="./index.js"></script>
</body>
</html>
Then, run the Snowpack development server:
npx snowpack dev
Now, go to http://localhost:8080 and you should see the basic web page rendered in your browser. If you change anything in the source and save, your page will do a full reload.
The timer is not active yet as we haven’t created the index.js module that we’ve asked the browser to include. So let’s do that next.
Add core functionality
Create the index.js module with the following initial content:
let timer = 0
let intervalId = null

export function setState(state) {
  timer = state.timer
}

function create() {
  intervalId = setInterval(() => {
    timer++
    document.getElementById('timer').innerText = timer
  }, 1000)

  message.innerText = 'Change this message and save the source file to see state-maintaining hot module replacement in action.'
}

function destroy () {
  clearInterval(intervalId)
}

create()
Refresh the page in your browser and you should see that the timer is now active and starts counting up the seconds since the page was loaded.
If you save the source file, you should see that the whole page reloads again and that the timer’s value resets. This is because we haven’t added any code to our module to handle hot module replacement. We shall do that a little later but first, how about we make things look a little less plain?
Add a spot of eye candy
Create a file called index.css in your project folder with the following content:
html {
  font-family: -apple-system, BlinkMacSystemFont, 'Segoe UI', Roboto, Oxygen, Ubuntu, Cantarell, 'Open Sans', 'Helvetica Neue', sans-serif;
}

body {
  max-width: 760px;
  margin-left: auto;
  margin-right: auto;
  text-align: center;
  font-size: 1.75em;
  padding: 0 0.5em;
}

h1 {
  font-weight: 100;
  font-size: 2em;
}

#timer {
  font-size: 2em;
}

#message {
  font-size: 0.75em;
  font-variant: small-caps;
  margin-top: 2em;
  padding: 0.5em;
  color: white;
  background-color: seagreen;
}
Import it by adding the following line to the top of your index.js file:
import './index.css'
Ah, that looks a bit better.
First taste of hot module replacement
Now, change the background-color property of the #message rule from seagreen to hotpink and save and you’ll get your first taste of hot module replacement with Snowpack as the styles update without a full reload of the page.
You didn’t have to do anything for this, Snowpack handles hot module replacement of CSS modules automatically for you. So that’s nice.
Given it’s New Year’s Eve as I’m writing this, let’s also install a Node module for creating some festive confetti.
npm i canvas-confetti
Next, import the new module at the top of your index.js file:
import confetti from 'canvas-confetti'
And then run it at the top of the create() method:
function create() {
  confetti()
  //…
}
Yay, confetti!
Also, did you notice… Snowpack magically enabled you to import your Node module using ECMAScript module syntax1. If you want to learn more about how that works under the hood, check out the esinstall module.
Implement hot module replacement
Although Snowpack can handle hot module replacement automatically for your CSS imports, it needs your help with JavaScript modules.
To implement hot module replacement for your module, add the following code to the top of your index.js file:
if (import.meta.hot) {
  import.meta.hot.accept(({module}) => {
    // Restore state on the new module.
    module.setState(import.meta.hot.data)
  })
  import.meta.hot.dispose(() => {
    // Save state before destroying the current module.
    import.meta.hot.data = { timer }
    destroy()
  })
}
Now, whenever you save index.js, the timer will keep its state.
Wait, what?

Right, it might feel like I just pulled a “how to draw an owl” meme on you so let’s break it down to see what’s happening here.
Again, more slowly this time
Basically, Snowpack will not just update your module for you without your permission because it could lead to all sorts of issues (with state, dependencies, etc.) So you have to expressly tell it that you want hot module replacement for your module.
You opt into hot module replacement by calling import.meta.hot.accept().
In fact, if you want to, replace the code we just added with that one line, refresh your page, and see what happens when you save index.js a couple of times. The timer starts jumping around. That’s because the module is being loaded over and over so new timers are being created that start from zero and compete with each other.
That’s why we need the code we added earlier.
It has three parts:
-
The initial conditional
if (import.meta.hot) {
  // …
}
We first check if
import.meta.hotis defined and only carry out the hot module replacement logic if it is. This means that not only will the code not run in production but, if you’re using a bundler like esbuild, it will also get tree shaken out of your final bundle. -
Housekeeping and saving state
  import.meta.hot.dispose(() => {
    // Save state before destroying the current module.
    import.meta.hot.data = { timer }
    destroy()
  })
The
dispose()method onimport.meta.hotgets called before the current module is replaced and beforeaccept()is called. This is a good place to store any state you want maintained and to do any housekeeping if you need to.You forward state by setting the
dataproperty onimport.meta.hot. This property is also available from theaccept()method, which is where you can restore state.For housekeeping, we call the
destroy()method which clears the timer’s interval:function destroy () { clearInterval(intervalId) } -
Restoring state
import.meta.hot.accept(({module}) => {
  // Restore state on the new module.
  module.setState(import.meta.hot.data)
})
In the
accept()method, we use the reference to the new module we’re passed to call itssetState()method with the state we saved earlier inimport.meta.hot.dataduring thedispose()method.In our simple example, the
setState()function merely restores the current timer value:export function setState(state) { timer = state.timer }
And that’s it!
Limitations and caveats
Of course, this is just a basic, harcoded example to demonstrate the core concepts.
In a framework like SvelteKit, you will most likely never have to write code like this by hand as the framework will handle it for you.
Also, state preservation during hot module reloading is not foolproof. To demonstrate this, change the initial value of the timer variable and see what happens. e.g.,
let timer = 60
That’s right, nothing happens unless you refresh the page. That’s because our state saving and restoring code ignores that value. It was this issue that caused the svelte-hmr project to make state preservation an opt-in feature.
I look forward to seeing how all this is implemented in SvelteKit once it’s released.
In the meanwhile, I hope this gives you an overview of how hot module replacement works with ECMAScript modules.
Happy new year!
Now, save your index.js file, enjoy the confetti, and here’s wishing you and your loved ones a happy new year and a 2021 that is better than the trainwreck that was 2020.
💕️
Like this? Fund us!
Small Technology Foundation is a tiny, independent not-for-profit.
We exist in part thanks to patronage by people like you. If you share our vision and want to support our work, please become a patron or donate to us today and help us continue to exist.
-
You can also use Skypack, their Content Delivery Network (CDN) to import the package directly but I would strongly advise against using it for reasons that I detail in my previous post: Skypack: Backdoor as a Service? ↩︎